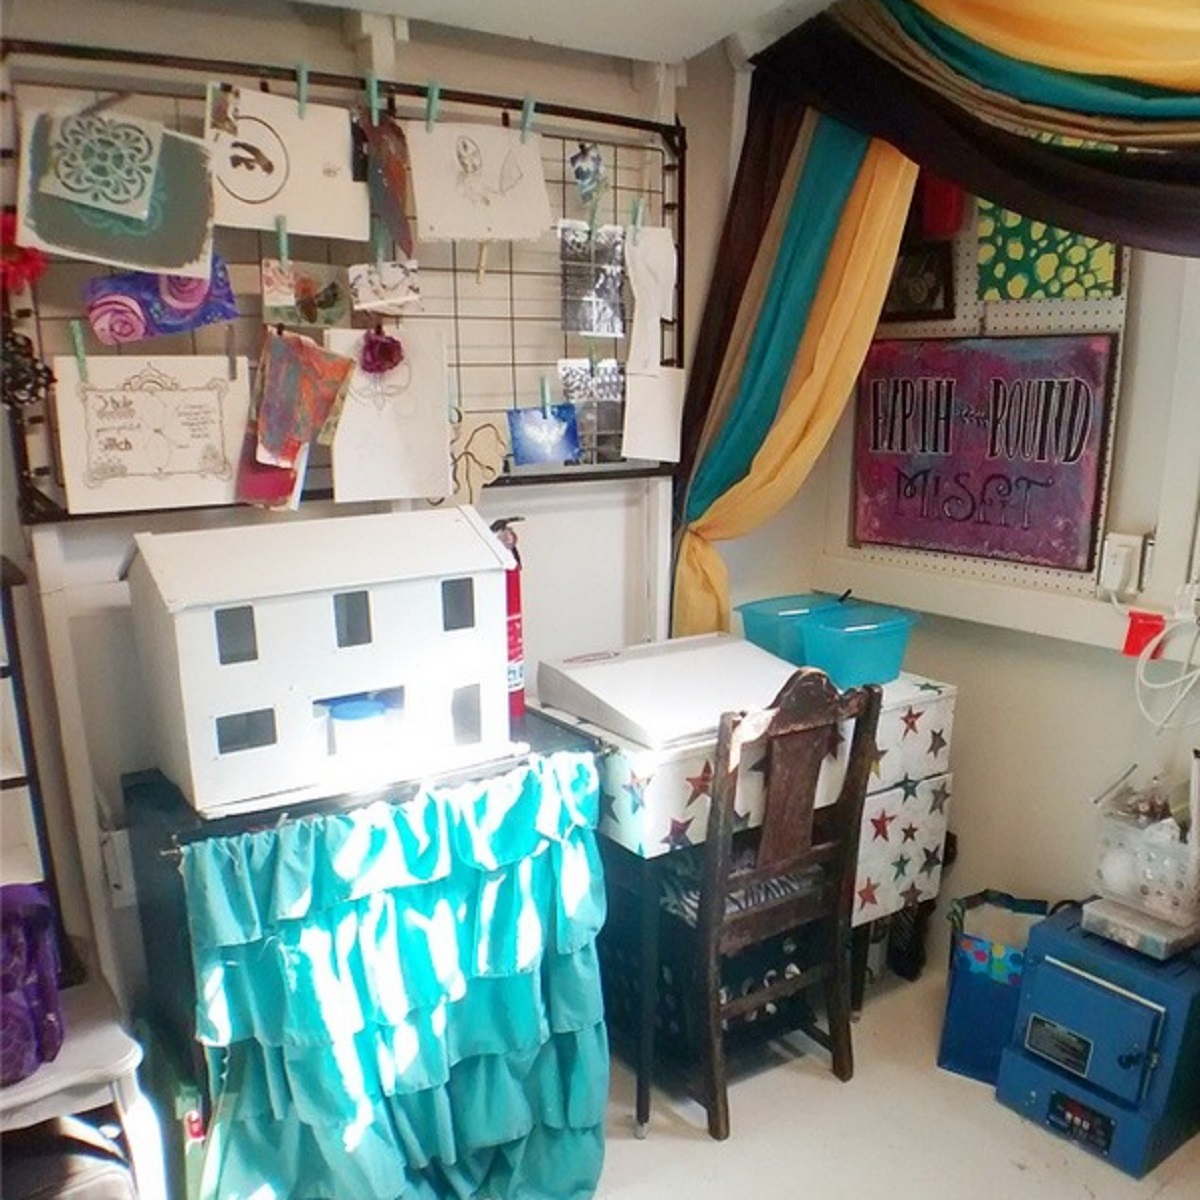
Stop by my YouTube Channel and take a peek at my video, Art Studio Tour, for a quick peek around my studio. I'm just gonna warn you, I'm from Alabama, and despite my best efforts I do sound quite "country" or Southern!
Showing posts with label ispywithmycraftyeyes. Show all posts
8.25.2014
8.19.2014
New Handmade Stencils
I got super productive today and made some more handmade stencils. I really like how these turned out. My last few were a bit too small. I've taken pictures of them on white copy paper with the extra pieces I will use as masks.
Here are some stars.
Some messy chevrons. Very messy!
A little bunting like design with flowers.
A little half flower (looks like a whole one with the mask beside it). I think this is my favorite.
A little fence.
And a little piece of stone wall.
You can see more about how I make these in this blog post. I made some last week to use with modeling paste for a challenge.
8.14.2014
Art Nest - Progress
These were all pulled from Instagram, and were taken on my phone, so the photos are not very good. But I thought you guys might like to see some of the progress I have made in my building. If you didn't see the before, check it out here. It's come a long way! Above is my space with furniture moved in, before I brought all my supplies in to sort them.
Here's a shot of one of the peg boards I put up. I don't have sheet rock, and the panels are very thin, so I didn't have anything to hang paintings on. I went to Lowe's and bought two pegboards, had them trimmed down, and painted them white. Now I can rotate my art out and hang some of my tools too.
My hoots! They have moved since this picture.
My table with nothing on it. I prefer it this way, lots of room to work. It's junked up at the moment.
I actually moved this cool dress form out and put it back in my house. It is awesome, but I really don't have the space for it in my tiny little nest.
Bring in the junk! I brought a lot of supplies and tools and stuff in to sort. Boy I sure did have a mess for about a week in there!!!
I had another pegboard and put it up here so I could hang this cool display case. I'll probably store some finished pieces in here.
Stuff on my desk. I thought I would like having things on my desk, but I really don't. Now I have to figure out where I will put all of this.
Storage containers dressed up a bit and labeled. I really like how they turned out!
I like this little corner! There's not much room in here, so getting a good picture is kinda tough.
This corner needs work! I'll be taking out that little table to the far left, moving everything over, and putting in a roll cart to hold my kiln and the items on my desk. I'm in the process of painting that dollhouse. It was mine when I was a little girl, but it got very rusted and scratched up and needed to be repainted. Not sure what I will do with it yet.
Here's my kiln on it's temporary table. I love being able to use this any time I want!
Thanks for taking a little peek into my artsy world! If you want to keep an eye on updates between posts, follow me on Instagram. Later!
6.04.2014
My Art Nest in Progress
Well, here she sits in my yard., all 8x8' of her. At last! I have been waiting for this for two months now, and finally this is mine! You might be able to tell from the pictures that she is facing the back of my yard. This was just by happenstance. The person who moved my art nest went in behind it to pick it up, so she was put in my yard backward. It is a lucky accident though, because this allows the door of my building to be in the shade most of the day. This means less heat will build up inside. I do have a window a/c unit in case the temperature climbs anyway. Please forgive the quality of some of these pictures, they were taken mainly with my smart phone.
This is what you see from the side of my house, and I think this will be perfect to plant shrubs around and easy to make pretty. Hubs and our friend/cousin David put some shutters up for me. They also jacked the building up and straightened and leveled it.
Just peeking inside it really doesn't look like much. But this gal has been making art and jewelry on her dining room table and storing art supplies in the laundry room under piles of clothes. So this is a beautiful site to me.
Here she is all bare and beautiful. I had to take these two built in tables out, and I decided to paint the inside white. Check this post out to see my inspiration. I don't have a sprayer and a large roller won't work, so I have been painting this with a small roller and a wide brush.
Here's the progress after a few hours. I love how bright the white makes the room look.
Oh that pesky ceiling!!!!!!
And here is one corner with two coats of paint covering it. Lovely!!!!! I can't wait to get all this done, get my floor painted, and move my furniture in!!!! BTW, I also have a light and 16 (wow!) outlets in this building, so I should be good to go with my equipment. Nice to know I won't have to move everything around to plug stuff in.
12.02.2012
Tonight, Tonight
I promise I am still here, and I am still crafting. Still taking pictures and making jewelry. Just not making much time for blogging. I know, no fun, right? I just can't seem to find the focus to write.
Here is a piece I have been working on for our bedroom. I love The Smashing Pumpkins, and "Tonight, Tonight" is one of my favorite songs they have done. I thought it would work well above our bed.
I started with the picture above, which is a piece of old decor from a Subway store. My mom had it in her yard and I asked for it. It is huge and I thought it would be fun to paint over. I took the frame off and put a coat of gesso over the picture (which is two sheets of plastic with foam in the middle) and added texture with Liquitex Basics modeling paste. Since I am not selling the piece I just used Apple Barrel and Fold Art fabric paints. I printed the words out and projected them up with my Art Tracer Jr Projector and penciled them in.
Here's the finished painting. I am quite happy with it, and can't wait to get it up on the wall. First I need to paint some shutters that I will used as a headboard.
Hubby picked the font out. I really like it!
6.29.2012
Published in Cloth Paper Scissors PAGES 2012
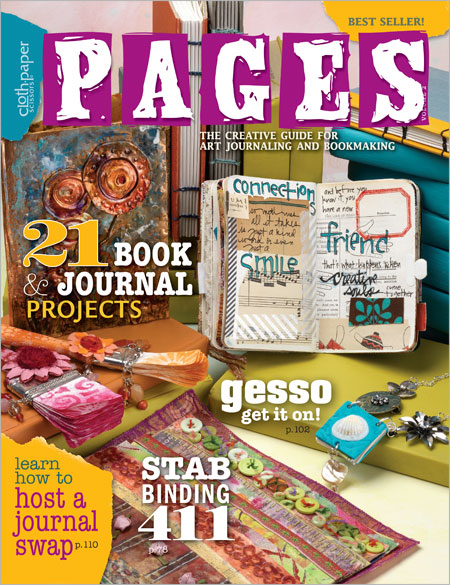
Last year when the premiere issue of Cloth Paper Scissors PAGES I was thrilled to find out my mini books would be included in the publication. I have come a bit further this year with a full length article featuring my paintbrush books featured in the 2012 edition of PAGES. I can't tell you how excited I am! This has been a goal of mine for a few years now, something I have been working hard toward. I received my copies of the magazine from the Interweave staff a few weeks ago and seeing my work in print is a dream come true. I hope you guys will check this out, PAGES is a wonderful magazine and I am so blessed to be part of it.
Go here for more details or to check out the table of contents.
1.03.2012
Sugar Skull Flower Finished
So last night I took a few moments and finished an illustration project. It was intended for our house, but my friend Julie likes it a bunch and she talked me into selling it to her. I will end up making another copy for hubby (he says I never keep his favorites, including this one).
This is the first big project I finished with my Koh-i-noor 7 pen set. I am so happy with the performance of these pens compared to the Staedtler Pigment Liners I am used to. And so far these pens have not been quite as high maintenance as I expected. I get a greater variety of line width with the 7 pen set than the four pen set of Staedtlers, and since these are refillable I will end up saving a ton in the long run. If you invest in these and have a Hobby Lobby nearby, consider buying them there. I paid about $70 for mine after the 40% off coupon I printed off. And I didn't have to worry about them being damaged during shipping.
Here is the completed drawing. It was done on a 14x17" piece of Strathmore bristol board, and the image itself is almost 12" across.
I am selling PDF downloads in my Etsy shop for $4, and hope soon to offer prints.
8.25.2011
Files and Journal Organized
With all the organizing going on around here I thought I would organize my office papers. I had all kinds of papers just piled up and crammed in the shelf that now houses my important studio tools and supplies. So they had to go somewhere. I now have a filing system going for all my papers, like hubby's JoonBuggy shop, my future I Spy shop, my poems and songs, my novel notes (yes, one day I plan to write a novel - with my sister), short story notes, sketches, photography, and so on. Here's a peek into my file folder.
Wow, it's so organized I almost don't believe it's mine. I also had lots of scraps of short poems, little doodles, and word and craft ideas and inspirations that needed to go into my journal. I cut them all out and taped them down or just wrote them into my journal. I got several pages done, but here are four of my favorites.
Labels:
black and white,
files,
ideas,
ink,
inspiration,
ispywithmycraftyeyes,
journal,
lino cut,
organize,
owls,
shayna butler,
shayna butler art,
sketch
12.28.2010
New Project!!!!! Owl Flower
I am currently working on another owl project. I just finished a couple of commissioned pieces for a friend and that got me in the mood to try something a little more tedious and time consuming - and ultimately more rewarding. So I got out an original sketch and my light projector and went to work. Here are a few pictures of the progress I have made.
It's an owl flower, or mandala, or whatever. Hubby says I draw a lot of circles. I guess it's true. I love to make these flower drawings, they look to me like figures gathering, dancing, around one center, one goal, one fire, one story. Maybe they are getting ready to sing their heart songs.
I will update when I have made more progress. I plan on loading a few extra photos onto my Flickr photostream, so check it out if you wanto to see more.
Subscribe to:
Posts (Atom)


.jpg)