
I found some really cool blue sheets at the thrift store a while back. A few years back actually. I kept them because I thought I would love to use them to make stencils, but I never did. Until I found them the other day. I found them in some old files while looking for the title to my car, which I never found. I was looking for the title because I locked the only set of keys we own to my car inside of my car. Anyway, I came across these and I had seen a challenge on using modeling paste with stencils and thought I would love to give it a try but didn't have any good stencils. Making my own would be a fine way to solve that problem. I started by doodling on a piece of notebook paper.

The sheets are very transparent, so I was able to place one on top of my drawing and follow the design with my X-Acto knife. I had a bit of trouble at first, but things went a lot smoother when I changed the blade out.

My first stencil cut! The edges are sloppy, sloppy, sloppy. That's because I don't take enough time when I go around rounded edges, and I get bored turning my paper a fraction of a millimeter at a time. So bored!

Tested out first on a messy piece of scrap paper. I also applied the negative of the stencil by turning it face down and using the modeling paste that was left over from the first application.

Hearts too. Hearts are fun.

Fun, but curvy and hard to do!

I also did some circles. Here's the sheet with all three patterns cut into it. I saved the cuttings for use on my gelatin printing plate.

I broke out the good watercolor paper and filled it up with modeling paste designs.
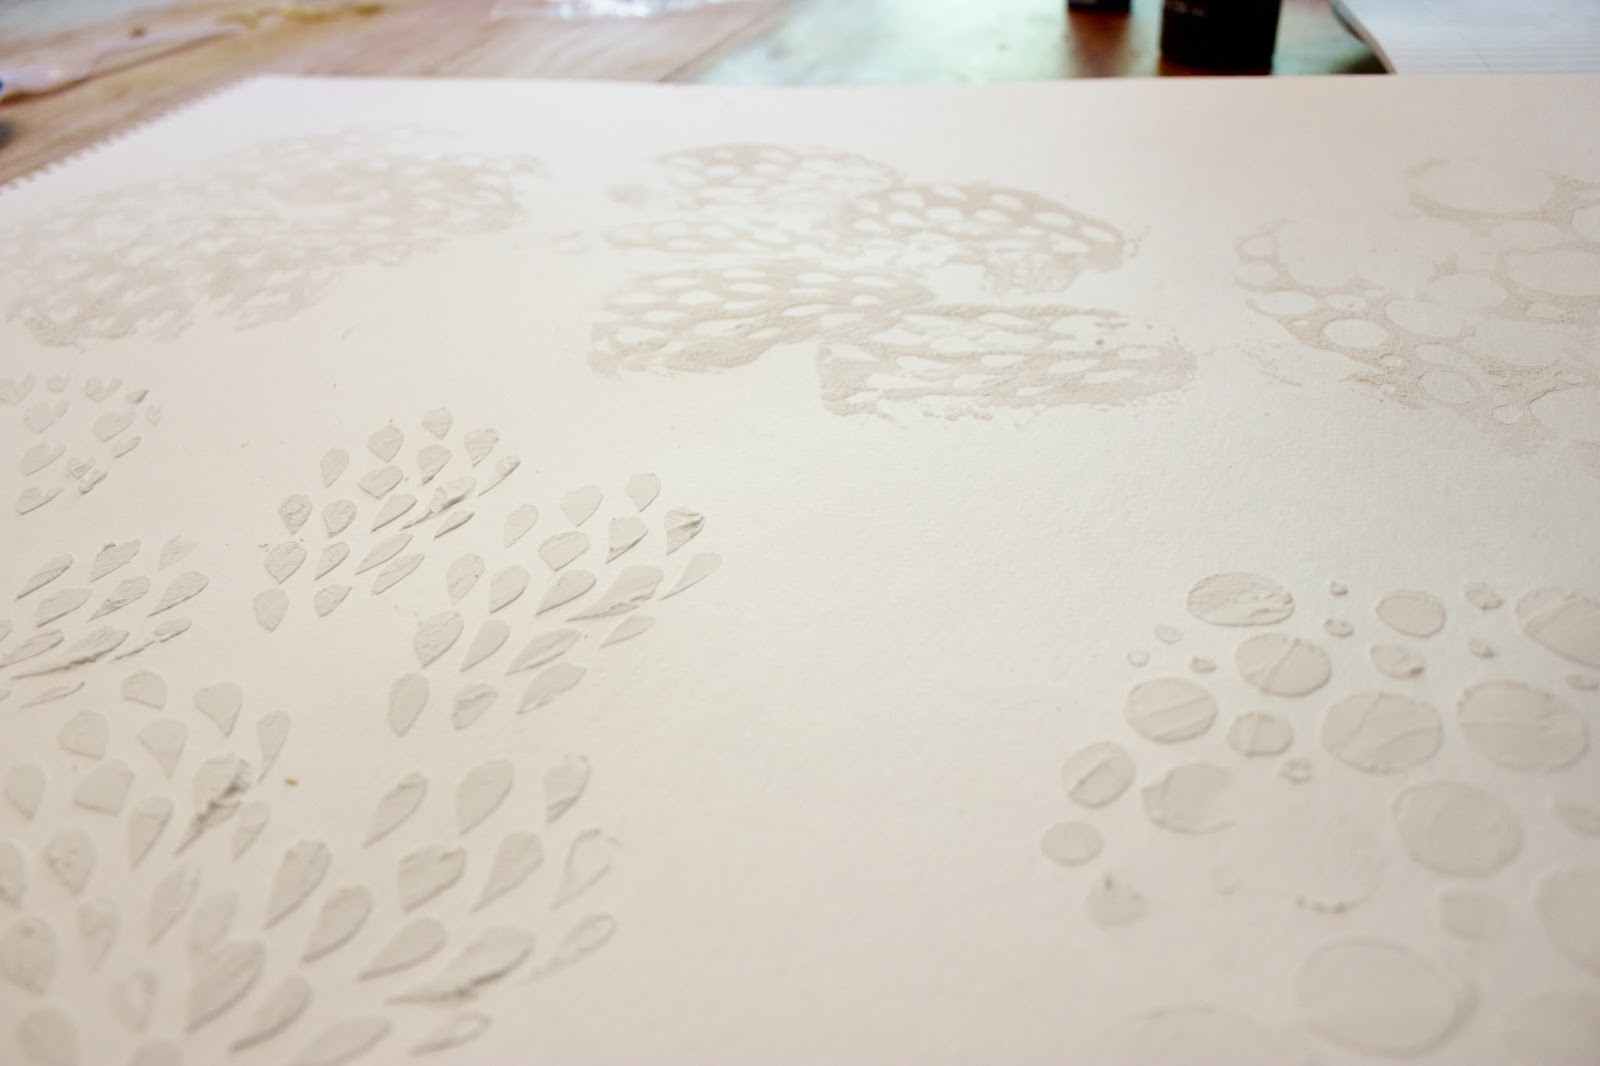


I used several colors of my Dr Ph Martin's Hydrus Watercolors to color the page.


Now where to go from here?
No comments:
Post a Comment