Showing posts with label shayna butler art. Show all posts

8.14.2014

Art Nest - Progress


These were all pulled from Instagram, and were taken on my phone, so the photos are not very good.  But I thought you guys might like to see some of the progress I have made in my building.  If you didn't see the before, check it out here.  It's come a long way!  Above is my space with furniture moved in, before I brought all my supplies in to sort them.

Here's a shot of one of the peg boards I put up.  I don't have sheet rock, and the panels are very thin, so I didn't have anything to hang paintings on.  I went to Lowe's and bought two pegboards, had them trimmed down, and painted them white.  Now I can rotate my art out and hang some of my tools too.


My hoots!  They have moved since this picture.


My table with nothing on it.  I prefer it this way, lots of room to work.  It's junked up at the moment.


I actually moved this cool dress form out and put it back in my house.  It is awesome, but I really don't have the space for it in my tiny little nest.


Bring in the junk!  I brought a lot of supplies and tools and stuff in to sort.  Boy I sure did have a mess for about a week in there!!!


I had another pegboard and put it up here so I could hang this cool display case.  I'll probably store some finished pieces in here.  


Stuff on my desk.  I thought I would like having things on my desk, but I really don't.  Now I have to figure out where I will put all of this.


Storage containers dressed up a bit and labeled.  I really like how they turned out!


I like this little corner!  There's not much room in here, so getting a good picture is kinda tough.


This corner needs work!  I'll be taking out that little table to the far left, moving everything over, and putting in a roll cart to hold my kiln and the items on my desk.  I'm in the process of painting that dollhouse.  It was mine when I was a little girl, but it got very rusted and scratched up and needed to be repainted.  Not sure what I will do with it yet.
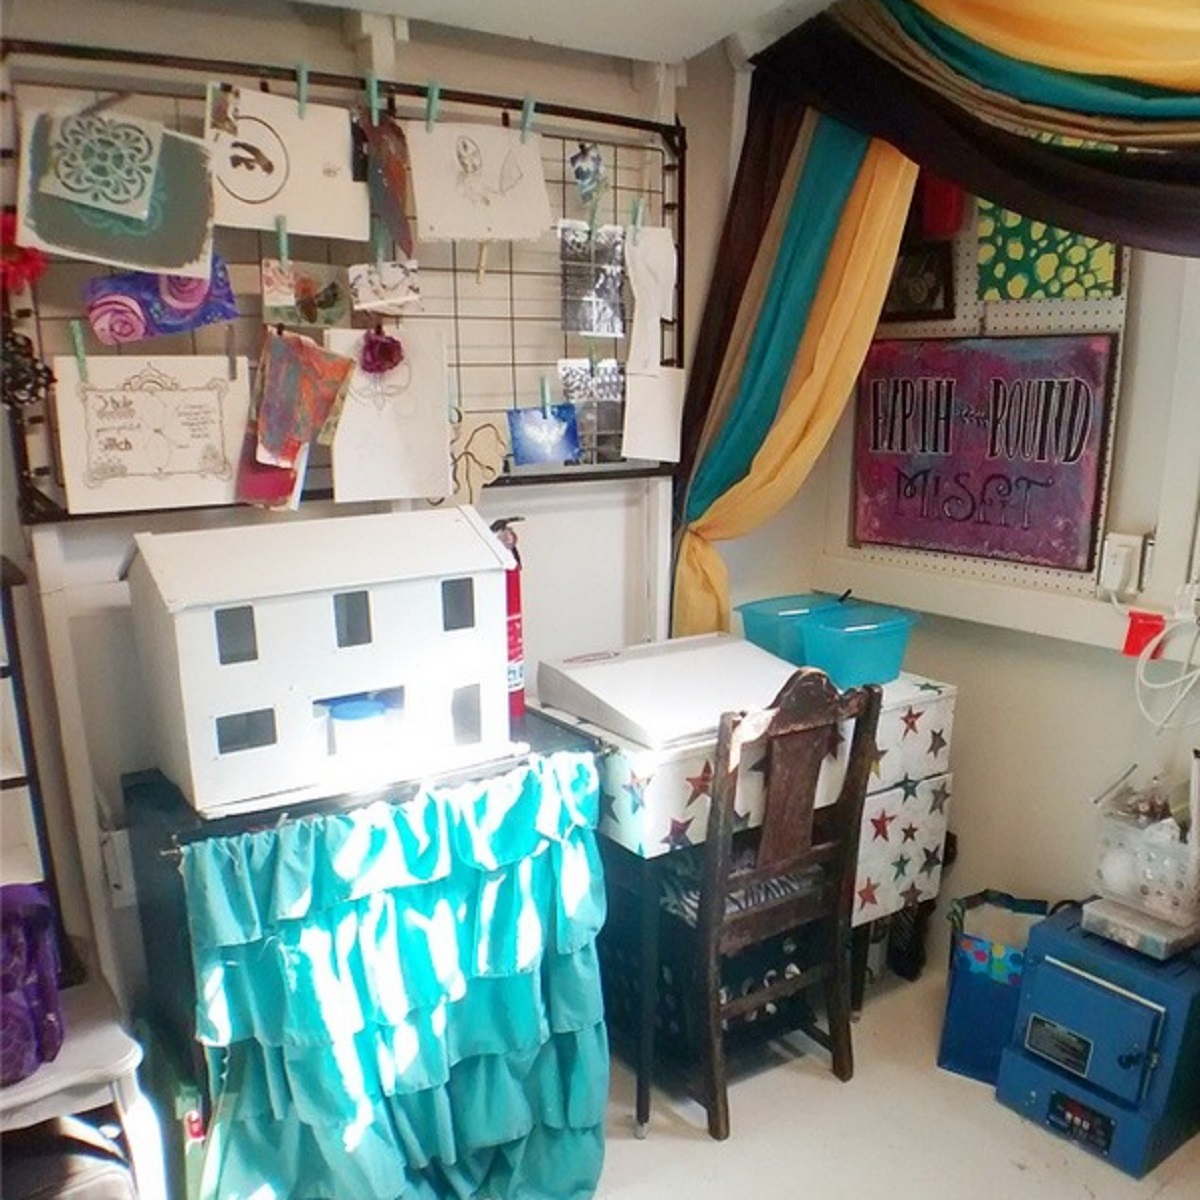

Here's my kiln on it's temporary table.  I love being able to use this any time I want!


Thanks for taking a little peek into my artsy world!  If you want to keep an eye on updates between posts, follow me on Instagram.  Later!

8.11.2014

Art Journal Pages - New Beginnings


I've been making time every couple of days to paint two pages in my book at a time, and I find it really satisfies me.  The reason I got this book in the first place was to spread my wings a bit and be able to be free with my paint without the pressure of a canvas or having to make a complete work of art.  It's just casual, just an experiment, and I can make mistakes and play around, having fun, learning myself, and teaching myself at the same time.  I am also trying to find my voice in my paint, so this is a good book I can use to practice techniques I see that I love and try to translate those into something that is truly me.

And, quite by accident, one of these pages ended up being my first entry for the Mixed Media Monthly Challenge.  The challenge for August is Stencils and Pastes.  I made some of my own stencils, used them to add paste to some watercolor paper, and added some Dr. Ph Martin's Hydrus Watercolors to them.  You can find that post here.  I wasn't sure what I would do with these papers, but I ended up using the following one on this page.


Here's how this page started out.  I knew right away I did not like these colors together, and regretted using the brush I did because everything seemed messy in a bad way. 


Here are some lovely little messy hands.  I got paint out for my kids while I painted since my daughter had begged all day to paint.  First little Lula's hand.  She is turning five tomorrow!


And Grayson's hand.  He is two, and trying to get a picture of his hand was like herding cats!


I painted over some of the previous brush strokes with a different brush, but I didn't like the colors I used!  I stenciled some hearts on with my handmade stencil and added black brush strokes.  Still hated it!


Then I played around with my handwriting and doodling with a white Sharpie oil based paint marker and a pink Elmer's Painters paint marker.  I'm loving both of these right now so much!  Seeing my doodles helped, but I wasn't happy with the colors.


I put down some crackle medium and waited for the required hour.  I think the waiting helped more than anything.  Then I added some Caribbean blue, orange, and pink paint.  I also brushed the word "new" on the page.  I added strokes in green with turquoise pluses on them.  


I painted the opposite page black and placed a rectangle I cut from a gelatin print page down with matte medium.


Then I used my white Sharpie paint pen to doodle around the edges.  I'm not sure what I will put in the middle.  The pages are about new beginnings since my daughter will be starting kindergarten this week, so maybe a picture of her or a silly Lula quote about school.  


I thought the other page needed something else, so I doodled a bit.  I drew this cute flower, but I really took it too far by adding these big black dots.   I hated it!


I tried painting over it, but it didn't look right, so this is where I ended up using some of my modeling paste paper from the other day.  I cut it out into the shape of the curve and put it down with matte medium.  I waited until the matte medium was dry to trim the edges to the shape of the corner.  I really like it!  Looks like these are done for now, but I will probably add more stuff later on.


The Mixed Media Monthly Challenge is also on Instagram, user name @mixedmediamc, so follow them there too!  This is the third challenge, and I look forward to seeing what else they come up with.  Go check them out to find inspiration from their creative team as well as the followers who share their art.  


8.09.2014

Handmade Stencils and Modeling Paste


I found some really cool blue sheets at the thrift store a while back.  A few years back actually.  I kept them because I thought I would love to use them to make stencils, but I never did.  Until I found them the other day.  I found them in some old files while looking for the title to my car, which I never found.  I was looking for the title because I locked the only set of keys we own to my car inside of my car.  Anyway, I came across these and I had seen a challenge on using modeling paste with stencils and thought I would love to give it a try but didn't have any good stencils.  Making my own would be a fine way to solve that problem.  I started by doodling on a piece of notebook paper.  


The sheets are very transparent, so I was able to place one on top of my drawing and follow the design with my X-Acto knife.  I had a bit of trouble at first, but things went a lot smoother when I changed the blade out.


My first stencil cut!  The edges are sloppy, sloppy, sloppy.  That's because I don't take enough time when I go around rounded edges, and I get bored turning my paper a fraction of a millimeter at a time.  So bored!


Tested out first on a messy piece of scrap paper.  I also applied the negative of the stencil by turning it face down and using the modeling paste that was left over from the first application.


Hearts too.  Hearts are fun.  


Fun, but curvy and hard to do!


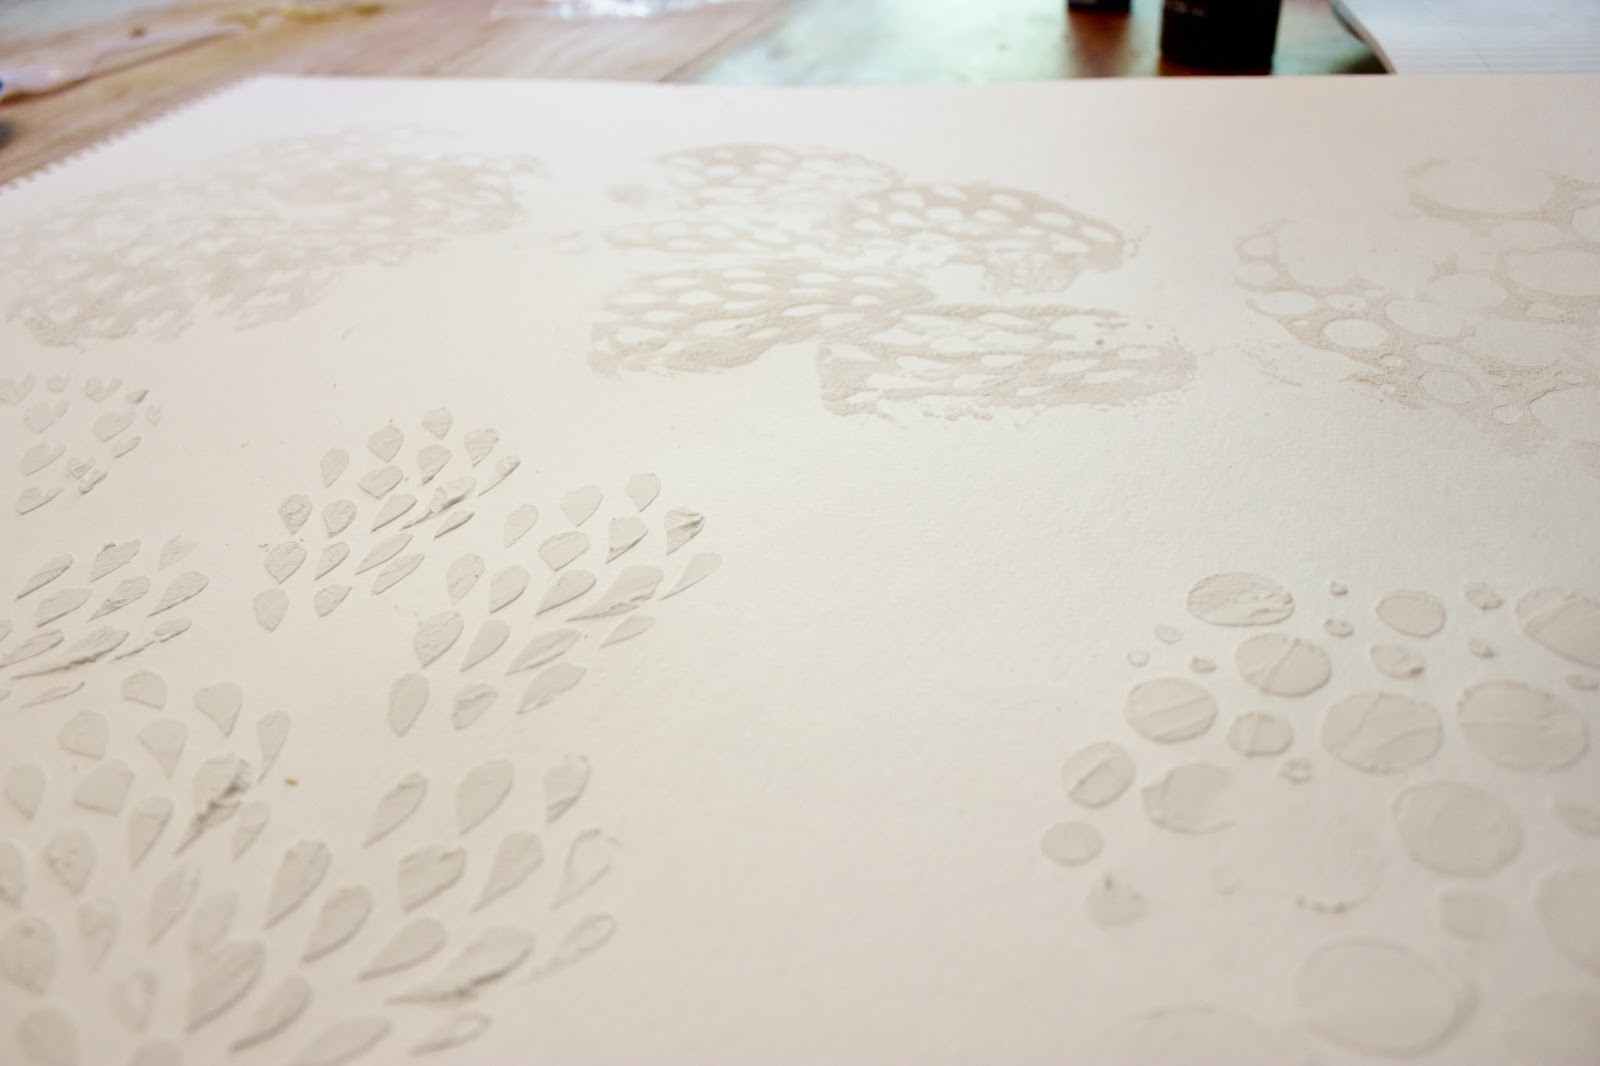
I also did some circles.  Here's the sheet with all three patterns cut into it.  I saved the cuttings for use on my gelatin printing plate.  


I broke out the good watercolor paper and filled it up with modeling paste designs.  


I used several colors of my Dr Ph Martin's Hydrus Watercolors to color the page.  


Now where to go from here?

8.07.2014

Wall Art - Huge Piece

I had a very large space on my wall to fill, so I took a couple of pieces of plywood I had around the house, primed them with white latex paint, and started painting them.  I used Folk Art and Apple Barrel paint by Plaid.  First step was to lay down a colorful background.  


I really wanted to do something playful and fun on this, similar to some of the pieces I have seen lately by Stephanie Corfee, so I kinda went wild with my brush.  And I hated it.  Hated. It.  


Not to worry, I covered it back up with more color.  I decided on some simple brush strokes to embellish the painting because I had so much room to cover (like 3 feet by 4 feet).


Here's a detailed shot.


And the finished piece on my wall.


8.05.2014

Art Journal Pages - The Least of These


A few weeks ago I worked on a large painting for my dining room, and I mixed up a really cool color of blue; a really dark, deep, midnight blue that almost looks black.  I wanted to use it in my journal, so I made up a bit more of it today.  I covered a whole page with the color, then brushed a bit on the other page with a wide brush.  I added a bit of leaf green and sherbet green to it with a smaller brush.


Looking pretty good already, but this color begs for a bit of pink next to it, so I put some down with that same brush.  


I always end up with extra paint, so I have been using it up on loose pages.  These three are just about ready to use for a collage I think.


I thought some pink lettering would look nice, so I bought an acrylic paint pen.  This is one of my favorite scriptures, a reminder that while our love for Christ is important, we must never forget to love and serve others.