

I have been working on my art room lately, trying to figure out a way to decorate it on a very small budget. I've had an old wooden display case around the house for quite some time and it has served several different purposes. The glass was broken out of it, and I thought for a while I might replace it, but had no idea how to go about taking it apart to measure and install the glass.
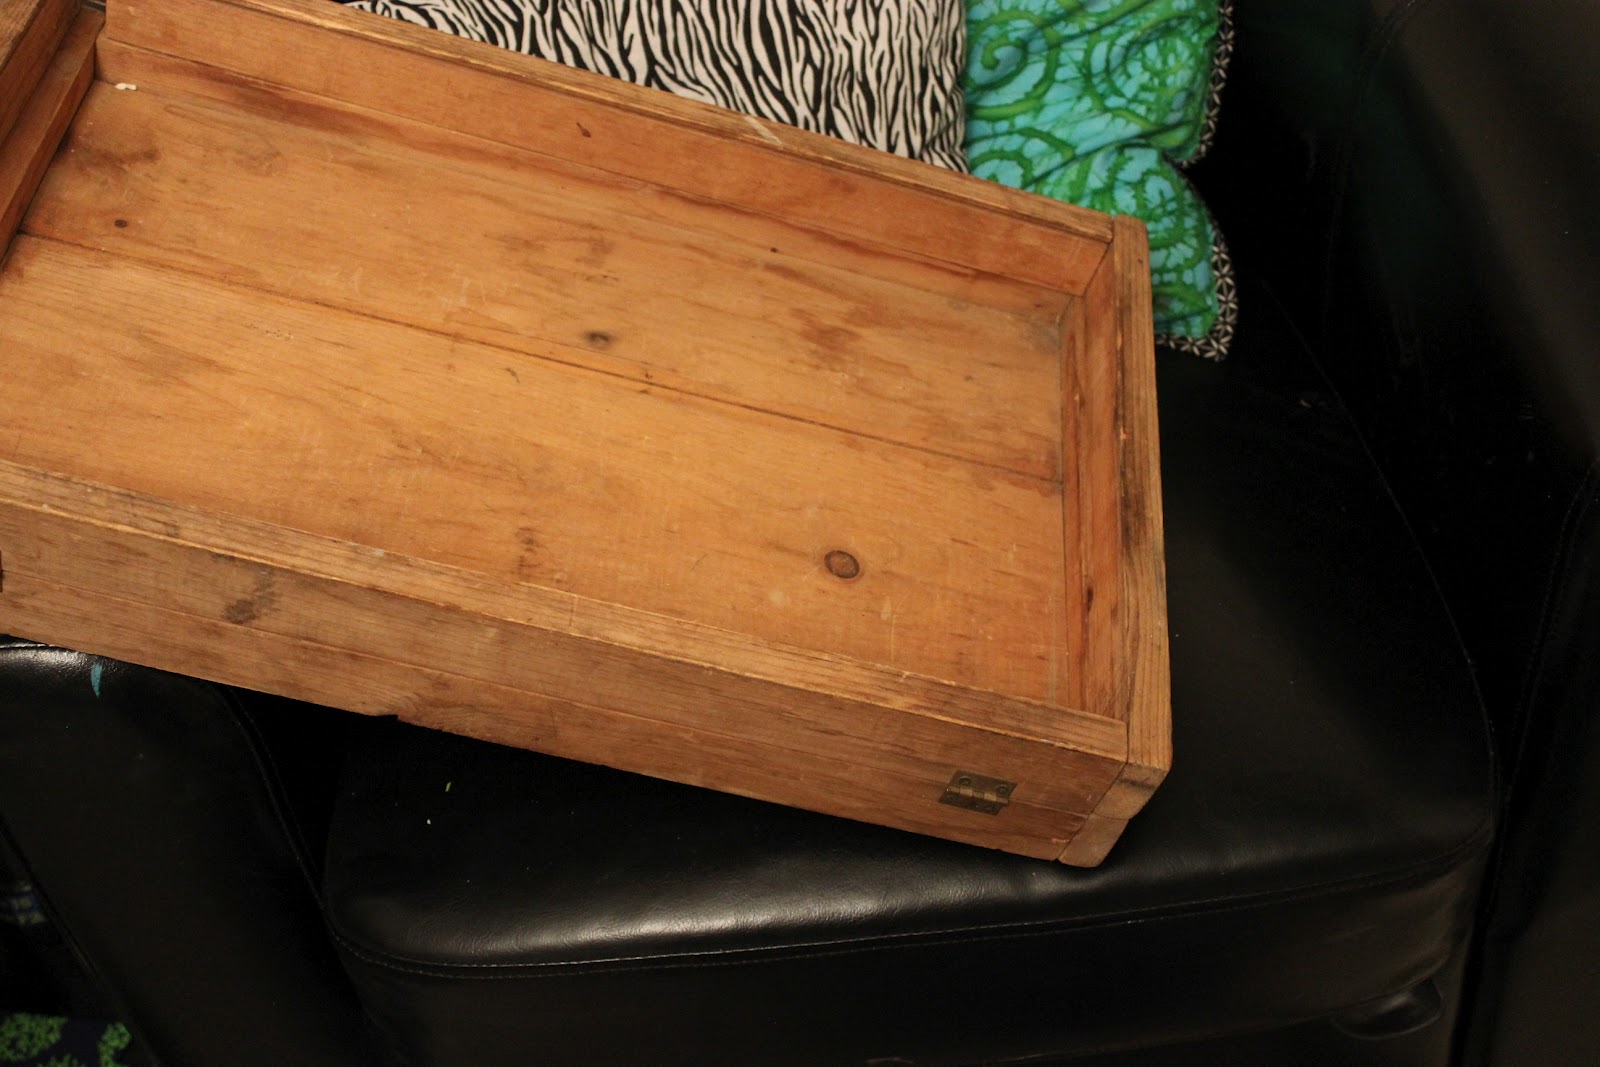
It has mainly been used as a tray or shallow box. So I got it out a few days ago to store some works in progress and realized that it should be just wide enough to fit license plates into. I figured out how to take it apart and tested my theory. I was right, the plates slid right into the grooves that held the old glass - it took 3 1/3 plates to fill the space where the glass had been (I cut the 4th down with tin snips).

When I got everything figured out I went straight to work. First I spray painted the license plates white, let them dry, and secured them into the grooves with E6000.

You can see the inside of the case here. It is not very deep, but will work perfectly for what I now have in mind (thanks to a suggestion from my hubby).

After the glue was dry and aired out, I brought it into the house and coated the plates with gesso. When the gesso dried, I painted the plates with a bright green acrylic paint. Hubby really liked it at this point, but it still needed something.


I tried painting one of my own patterns over the green in an aqua color, but the pattern was too small and messy for my taste. So I stopped midway and painted over it again with green. I searched online for a pattern to use, and ended up purchasing a stock image to use by Laurelie on Crestock. You can find the original image here. I really like this pattern. I printed it out, projected it onto the plates with my Art Tracer Projector (by Artograph, Inc), and traced the image onto the plates. When I had it traced I went over it with a darker pencil to make sure I did not get any of my lines mixed up.

I then mixed a little bit of bright blue paint into my aqua paint and started painting.

I finished the painting last night. I just put a clear coat on top of it, and it is sitting on my counter drying. When it is dry I plan on adding some hooks inside to store finished jewelry and supplies. I will then mount it on one of the walls in my art room. That will probably be a few days from now since I need to repaint my walls before installing this on the wall. I will post some pictures of it when I am done.

Until then, let me know what you think about this project. And if you are in the mood for more painted license plates, be sure to check out Shelly Massey's blog, A Wee Bit Warped. She does the cooloest art on old license plates, and my project was very much inspired by her. I know I would not have thought to use license plates, much less paint on them, if I had not been poking around her blog for the last couple of months.
I love this! I am thinking of just attaching license plates to a board and painting them one color, but this is a step further. Either way, I'm inspired by your imagination, Shayna!
ReplyDeleteThis comment has been removed by the author.
ReplyDelete